

How to Assemble a Cast Iron Radiator
Posted by Radiators 4u on 1st Apr 2026
How to Assemble a Cast Iron Radiator
A simple step-by-step guide to joining cast iron radiator sections safely and correctly.
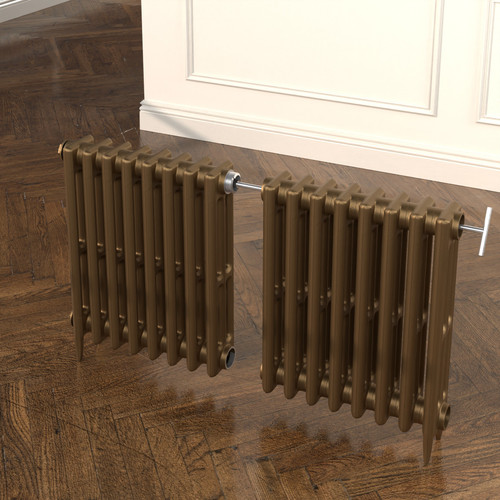
Cast iron radiators are built to last and offer timeless style, but because of their weight they are often delivered in separate sections or blocks. These sections must be joined together before installation.
The process is straightforward when you have the right tools, a clean working area, and a clear understanding of how the sections and joining nipples fit together. This guide explains the assembly process in a clear, customer-friendly way, whether you are preparing for installation yourself or simply want to understand what is involved.
Before starting, always make sure the radiator sections are placed on a clean, firm and flat surface, and check that all machined faces and internal threads are perfectly clean.
What You'll Need
- Radiator sections
- Bi-threaded joining nipples (included where needed)
- Rubber gaskets (included where needed)
- Radiator joining tool / joining key (Offered when needed)
- A clean, flat working surface
- Suitable protective equipment
How Cast Iron Radiator Sections Fit Together
Each radiator section has right-hand threaded connections on one side and left-hand threaded connections on the other. The joining nipples are also bi-threaded, with a left-hand and right-hand male thread at opposite ends. When correctly matched, this allows the two radiator sections to be drawn together evenly as the nipples are tightened.
Important: Do not apply jointing paste, PTFE tape, hemp, Boss White, or any other sealing material to the gaskets, nipple threads, or radiator threads. The gasket creates the seal.
Step-by-step Cast Iron Radiator Assembly
Step 1: Prepare the nipples and gaskets
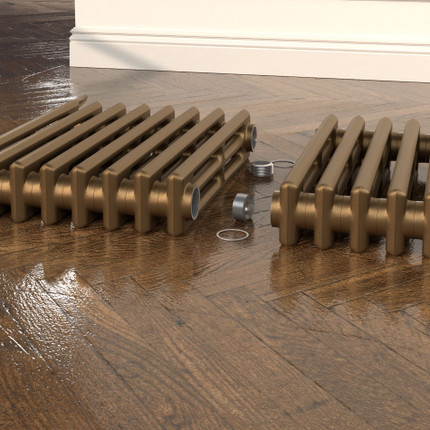
Place a gasket onto each joining nipple at roughly the nipple’s mid-point. Once you have correctly matched the nipple thread direction to the radiator section, screw a pair of nipples into the radiator section by only half to one turn.
Do not screw them fully into place at this stage. The nipples only need to be started so the second radiator block can be aligned and drawn together properly.
Step 2: Align the second radiator block
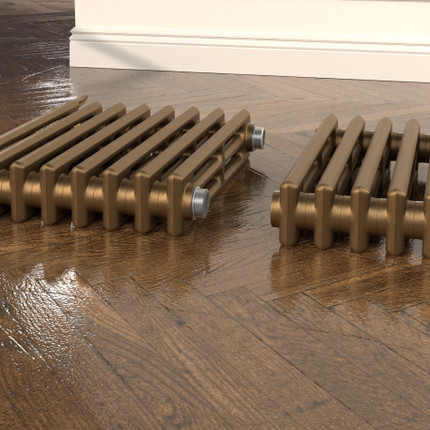
Carefully slide the second radiator block into position so that it aligns with the partially inserted nipples. Take your time here, as proper alignment is essential for a good seal and a smooth tightening process.
Keeping the sections square and level at this stage will make the rest of the assembly much easier.
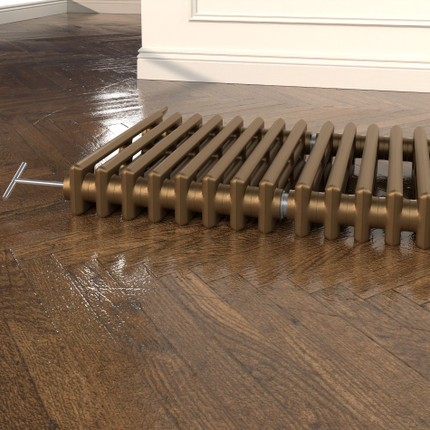
Step 3: Position the joining tool
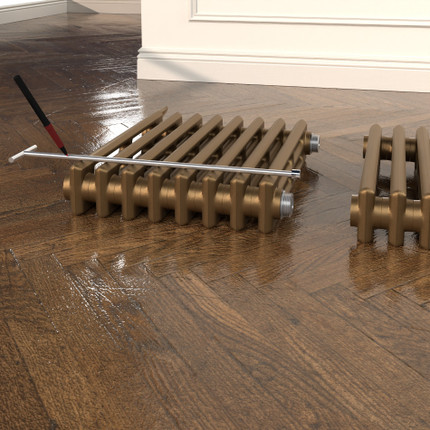
Lay the joining tool over the top of the radiator so that the tool head lines up with the nipple you need to turn. Marking the tool can help ensure the head engages correctly once inserted.
Slide the joining key into the open end of the waterway until it engages with the nipple inside the radiator section.
Step 4: Begin tightening evenly
As you turn the joining tool, the two radiator blocks will begin to draw together. During the initial tightening, it helps to gently pull the sections together so the nipple and radiator threads engage cleanly.
At this stage, only rotate each nipple by one turn. Do not fully tighten one side before the other.
Step 5: Tighten the top and bottom joints gradually
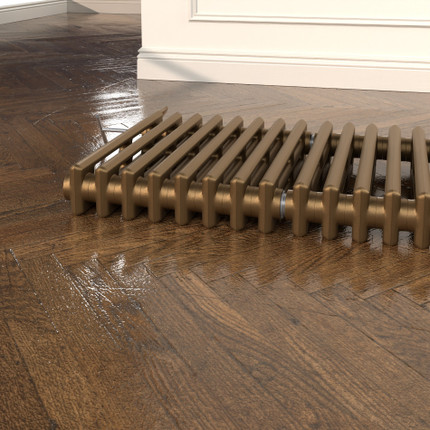
Continue tightening the nipples gradually and evenly at both the top and bottom of the radiator. Keep checking that the sections stay parallel as the joint closes.
Once the joints are fully closed, tighten firmly enough to compress the gaskets and create a proper seal.
Step 6: Fit the radiator bushes
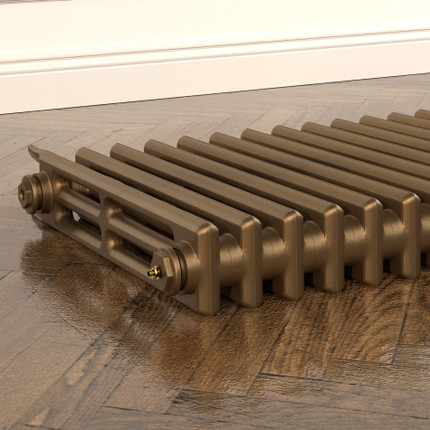
Once the main joints are complete, fit the radiator bushes together with their gaskets. As with the nipples, make sure the thread directions are correct and tighten them firmly.
No jointing paste or tape should be used here either.
Important Safety Advice
- Always refer to safe lifting guidance when moving heavy radiators.
- Do not attempt to lift heavy cast iron radiators on your own.
- Always wear and use suitable protective equipment.
- Maximum operating pressure: 3 bar.
- Maximum test pressure: 3.9 bar.
Cast iron radiators are extremely heavy, so it is best to position and assemble them carefully with the right support from the start.
Common Mistakes To Avoid
- Fully screwing in the nipples before aligning the second section
- Using PTFE tape, hemp, or jointing paste on the threads or gaskets
- Tightening one joint too much before the other
- Working on an uneven or dirty surface
- Trying to move heavy assembled radiators without proper lifting support
Final Thoughts
Assembling a cast iron radiator is all about preparation, alignment, and tightening the joints evenly. Once you understand how the left-hand and right-hand threads work together, the process becomes much more manageable.
Take your time, follow the correct sequence, and avoid using unnecessary sealing products. Done properly, your cast iron radiator will be ready for installation and built to provide reliable warmth for years to come.
Customer Favourites:


