How to Paint a radiator.
Posted by Radiators 4u on 25th Feb 2021
How to get the best result when painting a radiator
DIY, upcycling projects and freshening up your home environment are activities that are growing in popularity year on year. Along these lines, we occasionally get asked ‘how do I paint a radiator’. The answer is, by following a few simple steps, taking your time and using the right tools and materials.
Planning is key
Our first suggestion is to spend some time planning the job. Many of us know what they say about perfect planning and what it avoids! We would recommend:
(1) Establish what finish the radiator you want to paint currently has. This will influence not only the type of paint you will need but also how the surface is prepared to take the paint.
(2) Are you a capable and confident DIYer with plumbing skills and tools? If so, you may want to consider removing the radiator, as this will make the job far simpler. If not, like most, you will need to make a plan to mask off and cover the areas of wall and floor around the radiator to paint it in situ. Spray painting should not be considered an option for painting a radiator fixed in place as the fine paint particles will spread everywhere you won’t want them.
IMPORTANT:
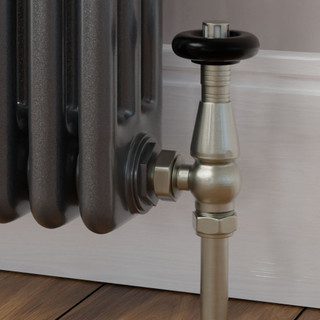
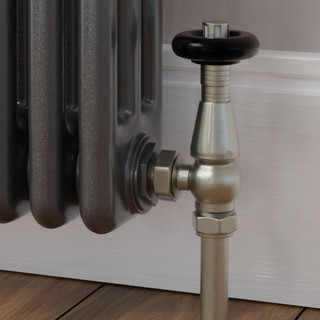
Be aware, most thermostatic radiator valves (TRV) have a frost protection feature, meaning if the room drops below 10 degrees C, the valve could automatically open causing the room to flood. To avoid this, you can use a decorators cap in place of the TRV head, or simply fit a blanking cap onto the end of the TRV valve. The lock-shield valve is not controlled thermostatically, so that just needs to be locked down normally.
(3) Plan when you want to do the job. You will need to allow time for the radiator to cool down completely. The radiator will need to be ‘off’ for up to 3 to 4 days during the work, so using the valves to do this is preferable to shutting down the whole system. It is also likely that you will need to open the windows and ventilate the room you are in when doing the work.
(4) Purchase the paint and any tools or equipment that you will need. When painting your radiator in situ, this will include:
• Paint. Make sure you have a sufficient amount for the suggested number of coats required. This will need to be a paint suited to the surface of the radiator you are painting.
• Primer. The primer is not to be overlooked if you want a great-looking, long-lasting finish. Not only will it help the paint adhere to your radiator but some primers include rust curing or rust inhibiting qualities. If your radiator has rust or is likely to rust, a quality primer is well worth the investment.
• Cleaning equipment. The surface of your radiator will need to be spotlessly clean, free of any corrosion and with any flakes, marks or blemishes removed.
• Sandpaper of various grit levels. We would recommend a 120 grit for the initial sanding, then a 200 grit to get a smooth finish.
• Dust sheets, masking tape and either old plastic shopping bags or clingfilm. The dust sheets are for the walls and floor, and bags and clingfilm to help to mask off the valves and pipes.
• Brushes. Synthetic ones are best, as they will achieve a more consistent finish and are less likely to lose bristles that will be there for years to come if allowed to dry on your newly painted radiator. Painting in-situ will be more tricky as you will need to paint as much of the visible back side as possible. Special radiator painting brushes are available to help with this job.
• PPE. Unfortunately, we are all too aware of what PPE is these days. Eye protectors are advised as are overalls or clothes that you no longer wear. Some paints may require you to wear a mask and/or gloves, so please read the instructions on your paint can before you start.
• Wipes, cloths or kitchen roll. From experience, these things always come in handy!
Now the planning is done, it’s time for the preparation.
Ensure your radiator has completely cooled down to the ambient room temperature. Failing to do this could result in bubbling and excessive dripping of the paint, and it will also be unlikely to dry to its optimum state. You will also need to give the radiator a really good clean with sugar soap or similar detergent and allow it to dry.
Lay the dust sheet on the floor, make sure all areas are covered, and take care to cover the areas behind any pipes that may go into your floor. Lightweight, thin plastic sheeting can be bought from most good DIY or hardware shops, which can be used to mask the walls, masking tape will be sufficient to hold this in place.
Cover the valves and any pipes with the shopping bags or cling film, ensuring a tight, straight edge and seal by using masking tape to secure the edges around the valve and pipe connections.
Ensuring you are wearing a dust mask, you can now begin to sand down the surface. This will even out any scuffs or scratches and will allow the primer to get the best adhesion on the surface of your radiator. The grit levels of sandpaper indicate how many separate bits of grit/sand are present in each square inch. The lower the number of grit particles, the larger they are and more aggressively they remove the paint below. We would suggest a 120 grit to get the main work done, with a 200 grit, far finer and less aggressive, to give a smooth finish.
You will now need to dust the surfaces to be painted, you can use a soft brush to get most off and a vacuum cleaner to be sure all dust and grit have gone. Once dusted, a final rub down with decorators wipes will ensure the surface is completely free of dust.
You can now apply the primer. Depending on the type you have, it could take up to 24 hours to dry.
Once satisfied the paint is dry and the finish is as required, it’s time to get excited and open up your pot of paint. Different types of paint will need different times to dry and from one to three or more coats. Reading the instructions for your specific type of paint will make sure you get the best outcome for many years ahead.
Once complete, you can sit back with a cup of tea, relax and enjoy the fabulous result you gained from a job well done!
Customer Favourites:


